Quick guide to using Core Data with SwiftUI
Learn the basics for using the Core Data framework with SwiftUI in iOS
When it comes to persisting complex data structures in iOS, Apple provides us with the Core Data framework. With Core Data, we can model entities and their relationships, save data for offline use, add undo functionality and more.
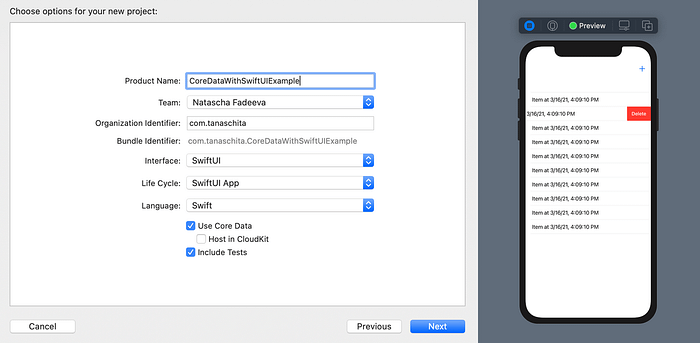
The easiest way to see how Core Data works with SwiftUI is by creating a new SwiftUI project and selecting the Use Core Data checkmark. Xcode will generate a working example that we can try out and review immediately.

Let’s go through it step by step.
The Core Data Stack
Before we jump into the example, let’s recap the most important aspects about Core Data. The Core Data stack consists of:
- NSManagedObjectModel - represents our model objects, called entities
- NSPersistentStoreCoordinator - manages the database
- NSManagedObjectContext - lets us create, edit, delete or retrieve entities
The NSPersistentContainer provides a way to set up the entire Core Data stack. All we need to do is to create an instance of NSPersistentContainer and call loadPersistentStores on it.
This setup can be found in the PersistenceController of the example project.
The Data Model

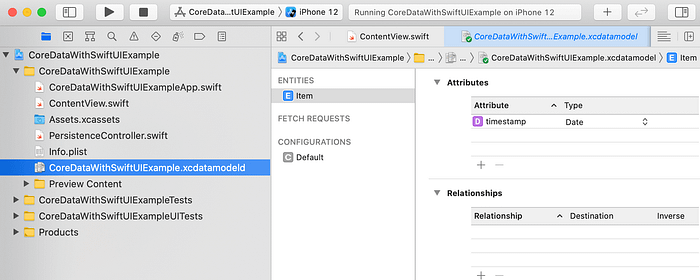
The example project comes with an AppName.xcdatamodel file where we can model our data objects, including their types, properties and relationships.
The Core Data model has an entity called Item with a Date property called timestamp. It’s a very basic setup, but enough to demostrate how Core Data works with SwiftUI. So let’s jump in.
Using Core Data with SwiftUI
After initializing the Core Data stack, it can be injected into SwiftUI views.
As we can see above, the managed object context is injected into the ContentView by using the environment() modifier.
After this is done, ContentView now has access to the managed object context to save, update or delete items.
Fetching data
To request items from the Core Data store, SwiftUI provides a FetchRequest property wrapper.
As we can see above, ContentView has an items property that holds the Itemresults of the FetchRequest. The items are sorted by it’s timestamp property. This property is used by the view to fill the List with content. The List will be updated automatically if an Item is added, deleted or updated.
Adding new items
For adding new items to the Core Data store, the ContentView has a method called addItem.
It initializes a new Item entity, sets it’s attributes and calls save() on the managed object context. The addItem method is called every time the plus button is tapped.
Deleting items
Deleting items works similar to adding items.
This method is connected to the view with the onDelete modifier provided by the ForEach structure in the List.
It is called every time elements are deleted in the view. SwiftUI passes a set of indices to the closure that are used to delete items.
Conclusion
Thanks to SwiftUI, getting started with Core Data has never been easier. Of course, Core Data is a huge topic and there is a lot more to learn, but I hope this guide was a good starting point for your Core Data journey.
Originally published at https://tanaschita.com.
